If you consider giving your room a makeover, you may have to replace your outdated ceiling fan with a modern one.
To take down a ceiling fan, determine whether you have a ball-in-socket style or a flush-mounted ceiling fan. That’s because these two models require a slightly different approaches.
In this article, I will guide you throughout the process and answer many homeowners’ questions about removing ceiling fans.
Can I Remove a Ceiling Fan Myself?
Yes, you can! Detaching a ceiling fan takes only a few hours. Moreover, you don’t need to be a licensed electrician to do this. Make sure you have all the tools you need to perform this task.
Do I Need an Electrician To Remove a Ceiling Fan?
It depends on your level of understanding and experience with electricity.
Remember that each state in the US has different requirements and regulations surrounding DIY electrical work. Check with your municipality or permitting agency, so you don’t run into trouble.
There are reasons why some folks may want to take matters into their own hands. For example, some homeowners live outside the areas most licensed electricians serve. Meanwhile, others want to save money.
To be clear, removing a ceiling fan is not considered a major electrical job. You can do it yourself if instructions and safety measures are followed.
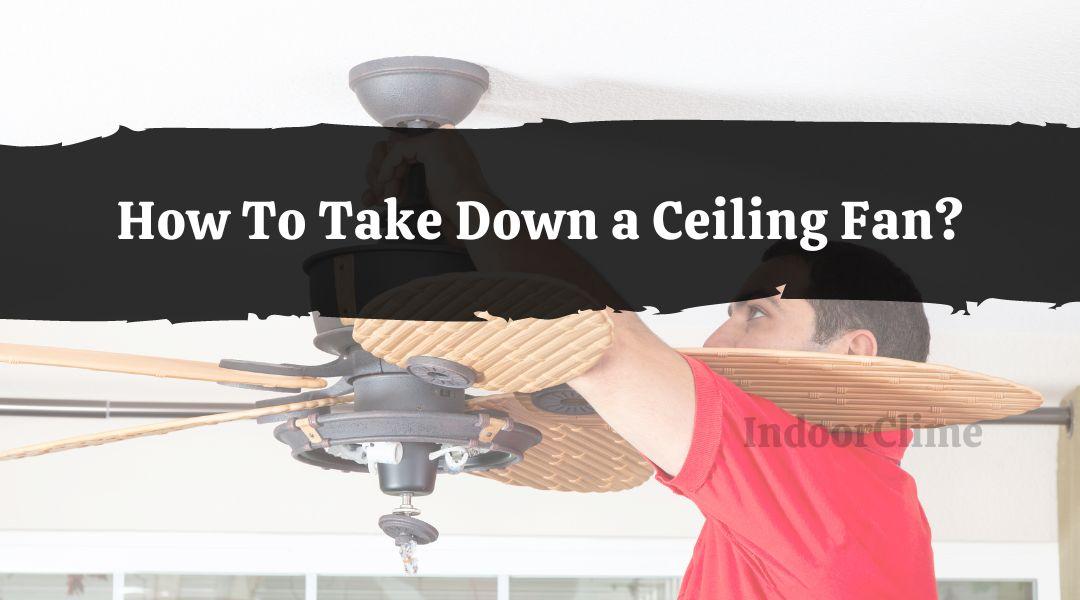
How To Take Down a Ceiling Fan?
Tools You Will Need
- Screwdriver
- Ladder
- Non-contact voltage tester
Before you start
- Switch off the power from the circuit breaker to protect yourself from electrical shock.
- Place the ladder where you can reach the ceiling fan comfortably.
Removing a Flush-mounted Ceiling Fan
Step 1
Unscrew the metal canopy covering the ceiling fan’s mounting bracket.
Next, lower the canopy and let it rest on the ceiling fan’s body. This should expose the electrical connection between the fan and the wires in the ceiling.
Step 2
Use your non-contact voltage tester to check if there is no longer power from the fan. You can remove the electrical connection’s wire nuts if no current is detected.
To remove the wire nuts, turn them counterclockwise until they loosen. This will detach the wires from the ceiling and the fan.
Tip: If the wires are hard to reach, you may need to pull them a little.
Step 3
Replace the wire nuts on the wires on the ceiling. This will ensure your wires are capped when you switch back the power.
Step 4
Hold the light fixture and let the ball at the top of the fan pole slip out of the mounting bracket. Make sure it can support the unit’s weight as it is dismounted.
Step 5
Climb the ladder with your fan and place it on the floor or table.
Lastly, climb back up to remove the mounting bracket from the ceiling. You can use your screwdriver to take off the screws.
Once you can take out the bracket, replace the screw in the electrical bracket. This way, you can use it again to attach another fixture.
Tip: Each ceiling fan comes with a mounting bracket. Even if you intend to buy a new ceiling fan, you need to remove the mounting bracket of the old one.
Removing a Ball-in-socket Ceiling Fan

Step 1
Start by removing the bulbs first. Next, detach the light kit from the ceiling fan if there is any. Finally, you can use your screwdriver to take out the screws that connect the lighting kit to the fan.
Once removed, you must also detach the wires that connect the light kit to the fan. Usually, they are connected with wire nuts.
Again, turn the wire nuts counterclockwise to remove them.
Step 2
Unscrew the metal brackets from the fan body. This way, you can detach the blades and the brackets by loosening up fewer screws instead of individually removing the blades and the metal brackets.
Keep all parts in a bag or an envelope and label them accordingly so the fan can still be reused in the future.
Step 3
Remove the screws that connect the fan’s body to the bracket on the ceiling. As you do this, hold the fan’s body, so it does not fall off.
Some modern units have bodies attached to the bracket with a screw and a hinge on either side. With this design, you can let the fan body hang from the hinge while dismantling the wiring.
If your fan does not have this feature, support it while disconnecting the wires.
Step 4
Take the fan body from the mounting bracket. After that, remove the mounting bracket from the ceiling.
To do this, detach the screws that attach the mounting bracket to the electrical box. Once removed, put the screws back on the electrical box.
What Can I Do After I Take Down My Ceiling Fan?

We’re not quite done. Now that you have successfully removed the ceiling fan, you will likely deal with two new problems.
First, you need to get rid of your old ceiling fan. Second, you have a hole in the ceiling that needs to be covered ASAP.
Here are some of the things you can do:
Recycle
You can take your old ceiling fan to a recycling center. First, check whether the recycling center will take an entire ceiling fan or accept certain parts.
Donate
If the ceiling fan is still working, consider donating it to organizations that can take it to places where it can be reused.
Upcycle
When it comes to upcycling old items, the possibilities are endless!
You can breathe new life into your old ceiling fan by turning it into a functional or decorative piece. Alternatively, you can upcycle some parts of it!
Install a Paintable Ceiling Box Cover On the Hole In the Ceiling
As for covering the hole in your ceiling, I highly recommend this paintable ceiling box cover. The kit contains a couple of screws, a mounting bracket, and a paintable cover.

Paintable Ceiling Box Cover Plate
Each brand or model may provide different instructions for installation, but essentially, this cover will hide away all the wires. Even better, you can paint it to match the color of your ceiling.