Window air conditioners naturally collect dust, dirt, pollen, and other debris during the offseason. When this debris builds up around the coils, it can lower your AC unit’s efficiency by 15%.
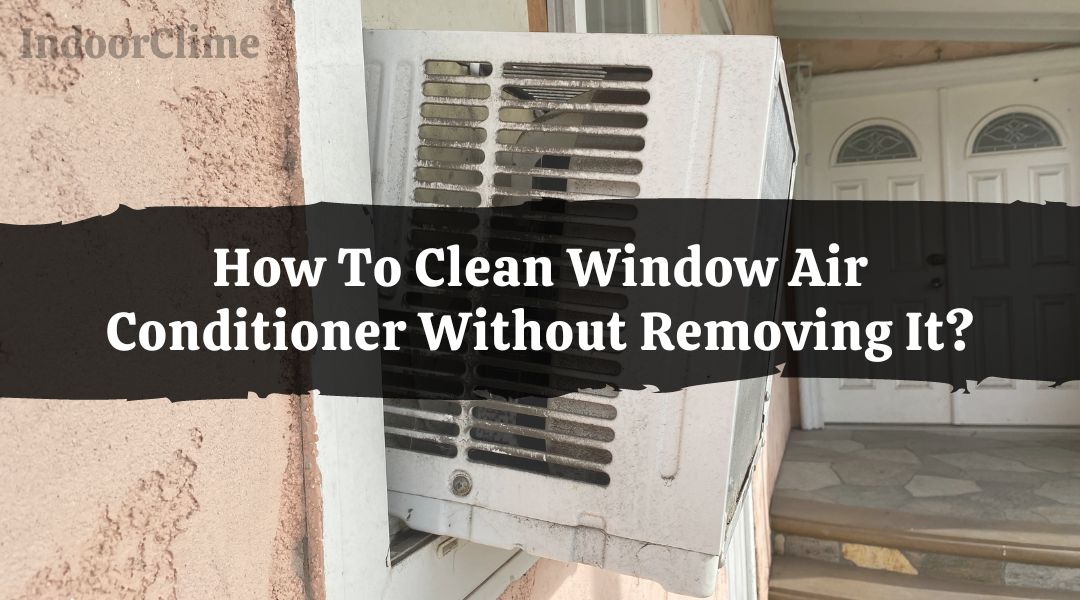
It may seem daunting, but we may simplify the process. Fortunately, you can clean a window air conditioner without removing it.
Just follow these steps to get your window air conditioner back in shape to be more comfortable anytime.
Use a soft brush attachment vacuum to clean the window air conditioner without removing it. First, ensure no blockages in the way, such as furniture or curtains.
Then remove any filters from the air conditioner and clean them according to the manufacturer’s instructions. Finally, carefully vacuum out dust and dirt with the brush attachment on your vacuum cleaner.
Why Is It Important To Clean a Window AC?
Cleaning your window AC unit regularly is one of the essential elements of maintenance.
If you don’t keep your air conditioner clean, you may experience several problems, including decreased efficiency and performance.
Here is what you need to realize about the importance of cleaning a window AC.
The Importance of Cleaning Your AC
People often overlook their window AC units when people think about HVAC maintenance. After all, it’s pretty small compared to other air conditioning units, and many people assume they don’t need to maintain it frequently.
However, this can be a costly mistake as dirty components can lead to a variety of problems with your air conditioner, such as:
Maintaining Your Home’s Air Quality
If you keep your air conditioner clean, you’re helping to keep your home’s air quality up to par. Cleaning regularly also helps reduce allergens in the air, which is especially important if you have allergies or asthma.
Cleaning Your Air Conditioner Can Help You Save Money
If you don’t clean your air conditioner regularly, it won’t be able to cool your home as efficiently as it should.
An AC unit must be maintained regularly and in good working order to work correctly. Regular maintenance includes keeping the AC filters clean and changing them out periodically.
A Dirty Window AC Unit Affects Your Home Appliances and Electronics
A dirty AC unit can cause damage to other appliances and electronics in your home by overheating them or causing them to malfunction.
It also makes it more difficult for these devices to function at their best, leading to higher electricity bills.
Supplies Needed to Clean a Window AC Without Removing It
- A bucket full or sink that is nearby you can fill with soapy water
- One vacuum that has a soft brush attachment
- Soft brush/comb that you don’t use
- Spray the bottle with lukewarm water
- Drops of dish detergent
- Clothes that can get dirty and not used anymore
- Paper to go underneath the air conditioner unit
- A screwdriver tool
- Toolbox to organize small tools
- Gloves to refrain hands from the sharp fins
- Fin comb if the coils need straightening
8 Steps To Clean the Window Air Conditioner Without Removing It

Window air conditioners can be a blessing in the summer. It can also be a breeding ground for bacteria and mold if you don’t keep them clean.
You may need to remove and clean your window AC every few months to get it looking spick-and-span again.
Step 1. Turn It Off
Before removing your window air conditioner from the wall, ensure the power is turned off at the wall socket. If you have an appliance switch on the unit, turn it off to be safe.
It will protect you and your family members from electrocution or accidental damage to the machine.
It would help to wear gloves and goggles before cleaning to protect yourself from allergens and other airborne particles lurking in your air conditioner’s grill.
Step 2. Take Off the Grill

It is typically a pretty straightforward step: look for screws or clips along all sides of the grill, and remove them one by one until you can pull the grill away from the unit.
Set it aside somewhere safe—preferably somewhere dry and indoors, since even if it looks like it’s never rained on your air conditioner before, you never know what kind of weather will happen in the next few months.
We recommend using a screwdriver to unscrew all of the screws that hold it in place before removing them. If any loose ones are left behind after removing them with your hands, use pliers instead!
Finally, clean all surfaces thoroughly using warm water mixed with dish soap or an anti-bacterial wipe (but not bleach).
Step 3. Remove the Filter
Detach the filter by sliding it out of the slot in which it is housed. Now set about wiping down the filter with a rag and soapy water.
You can use a mild detergent if you choose. Rinse well and set aside to dry before replacing.
If the filter is tough to remove, use a screwdriver to pry it loose. On most models, you can wash the filter in the sink with mild soap, then rinse and let it dry completely before reinstalling it.
Step 4. Remove the Case
Suppose your window unit has a front grill that you can remove by pressing two spring-loaded clips on each side.
Next, pull out any screws or bolts holding the sides of the case to the chassis and dismiss the case.
Use a screwdriver to detach any screws holding the case to your air conditioner, then pull off the case carefully so that wires remain attached to the unit.
Set this aside, and do not clean it until later in this process, or else you may damage delicate parts like fans or motors inside your air conditioner.
Step 5. Vacuum and Spray the Inside Parts
Vacuum around all inside parts with a soft brush attachment or handheld vacuum cleaner to remove dirt and dust.
Then spray everything down with an all-purpose cleaner or disinfectant spray to kill mold spores and prevent them from growing back.
Finally, use a rag to wipe around fan blades, dampening them when necessary (but don’t spray anything into electrical components).
Please repeat this step three times until no more dirt comes loose when spraying and vacuuming these parts, then set them aside.
Step 6. Clean the Condenser Coils
Using a commercial coil cleaner to sanitize the condenser coils would be best. Or you can use a vinegar and water solution (1 part vinegar to 1 part water).
Spray the solution on the coils, sit for about 15 minutes, and rinse with fresh water.
If a metal panel covers the condenser coils, you may need to use a screwdriver or other tool to undo the screws and lift them off.
If you see a substance like jelly on the coils, discard it with a damp cloth or paper towel.
It would help monitor mold, mildew, and other debris growing on the coils. Use a soft-bristled brush to gently remove any large pieces of debris, followed by a damp cloth to wipe everything down.
Step 7. Softly Brush/Comb Down the Fins
If your unit has metal fins (not wire grates), you’ll want to clean them gently. You can achieve that with a soft-bristled brush or a fin comb, which is specially designed for this purpose and is available at most hardware stores.
In addition, it will allow air to flow more freely through the condenser coils, improving efficiency.
Fins are thin pieces of metal that allow air to pass through them. To clean them, use a butter knife or an old comb to comb down each fin until they’re straight again.
Don’t bend them too hard—they can bend easily, making air exiting the unit difficult.
Step 8. Leave Everything To Dry, Then Reassemble
Once everything dries completely, reassemble your unit. Again, use your owner’s manual if you need help remembering how everything goes back together—it can be difficult after taking apart every piece at once.
After cleaning every part of your air conditioner, please leave all the features to dry entirely before reassembling them back into your window frame.
Then, when you’re ready to turn your AC on again, ensure all parts are in place before turning.
Benefits of Cleaning the Window Air Conditioner Unit

Cleaning the window air conditioner unit is essential to keep the air clean and to help it work properly.
When the air conditioner parts are dirty, they won’t work as well as they should. If you don’t clean it regularly, it can cause your health and safety problems.
Air Filter is Clean and Does its Job
You’ll also be cleaning out the air filter when you clean it out. That means the filter will be able to do its job and give you and your family clean, filtered air that won’t trigger allergies or asthmatic episodes.
Fins Allow Air to Flow Through
Fins on the back of the air conditioner allow air to flow through. Unfortunately, dirt and debris can quickly get stuck in those fins, blocking airflow and causing your unit to strive harder than it needs to cool your house.
That means you’re spending more energy bills than you need to! Cleaning the fins ensures they can do their job correctly, so your energy bill stays low.
Find Mold Issues Early
Mold loves dark, moist places—like inside an uncleaned air conditioner unit. It usually shows up in a window AC as black gunk around the edges of where the air filters go.
Removing this mold before it spreads can save your health and wallet.
When to Repair or Replace Window AC?
Window air conditioners are a convenient way to cool a single room. Still, they can be expensive to run and hard to maintain when you wonder whether it’s time to repair or replace your window air conditioner.
Homeowners’ most important question regarding window AC units is when should I repair and replace them? Unfortunately, the answer depends on a few different factors.
- First, you’ll need to consider age. If your window air conditioner has been in service for ten years and has started giving you trouble, replacing it may be the best option. Over time, they tend to lose efficiency and can start costing you a lot of money on your energy bills. In addition, window ACs can depreciate over time, so replacing them may be a good investment if your AC unit is more than ten years old, especially if it’s given you recent trouble.
- Second, consider how much you’ve spent on repairs in the past year. If you’ve already spent a lot of money repairing your unit (or expect to spend that much or more during the current cooling season), replacing your air conditioner may be a better investment.
- Third, think about how often you use your air conditioner. If it’s an integral part of your life, especially if you live somewhere with hot summers and freezing winters, it may make sense to invest in an energy-efficient model that will decrease your energy bills.
Window Air Conditioner Monthly Check-Ups
Follow these manageable steps to keep your unit running smoothly all year long:
- Once a month, vacuum out your window air conditioner using an attachment. It will help keep the unit clean and running efficiently.
- Clean any filters on the unit according to manufacturer instructions. Usually, this is done by running the filters underwater and letting them dry completely before putting them back in the unit.
- Ensure the defrosting system works correctly by setting it to defrost mode for about 15 minutes each month. Contact a maintenance specialist immediately if you hear any strange noises or detect a foul odor from the unit.
People Also Ask
Is A Dirty Window Air Conditioner Bad?
Yes. A dirty window air conditioner can make the cooling system work harder, increasing power consumption and potentially even malfunctions.
A dirty window air conditioner will also be less effective at cooling a room.
It can lead to a lot of problems for you and your family. In addition, it can be bad for your health if you don’t take care of it.
Window air conditioners have to be cleaned often to continue to work correctly. If not cleaned, mold and bacteria can grow inside the unit.
It will lead to allergies and other respiratory problems. It can also lead to higher energy bills because the unit has to work harder than usual when it is dirty.
Can I Spray Water on my Air Conditioner?
Yes, you can spray water on your air conditioner. However, you should remember only to water the outside unit of the air conditioner unit and avoid all contact with any electrical components.
In addition, you should not use a pressure washer or hose to clean your air conditioner. Instead, use a garden hose, and disconnect the power before beginning.
The most helpful way to clean your air conditioner is by spraying water around the outdoor condenser coil once per year. The condenser coil helps your air conditioner’s refrigerant cool down enough to be used inside your home. It is located on top of the outdoor unit.
You’ll want to spray water in a circular motion around the coil and all four sides of the unit. While cleaning your AC, remove any debris, such as leaves or bushes surrounding it, to allow it as much airflow as possible.
How Often Should I Clean A Window Air Conditioner?
Many factors determine how often your window air conditioner requires cleaning. For example, if you live in an area with pollen, dirt, or other debris in the air, you’ll want to ensure you clean your air conditioner more frequently—at least once a month.
But even if you don’t live in a filthy area, it’s essential to ensure you thoroughly clean your AC at least once a year. You can gently use a soft brush and vacuum cleaner to remove dust or debris from the machine’s coils.
How Do You Clean Mold Out Of a Window Air Conditioner?
You can clean mold from your AC units by these steps:
- First, remove the filter and place it in a bucket filled with hot water and a cup of bleach or vinegar. Let it sit for 30 minutes so that any mold has time to come off the filter.
- Use a soft brush (an old toothbrush works well) to scrub any remaining mold. Rinse with water and let dry entirely before replacing your air conditioner unit.
- Get a sponge damp with bleach or vinegar and wipe down all surfaces inside the air conditioner unit, paying particular attention to areas that show signs of mold growth (dark patches, a fuzzy texture)
- Then, rinse it with water and let it dry completely before reassembling your unit and returning it to its home in your window.